What do you need to buy, bring and know before you take a RV on a first trip? Below is a list of 36 tips and favorite products we have learned through trial and error in our nine seasons of RV camping as a family with small children.
Planning Your Trip
- Choosing the Distance & Destination
- Packing: RV Toilet Paper
- Packing: DVDs
- Packing: “Clickers”
- Nearby Firewood and Propane
Food & Menu
- Baggies Versus Containers
- Grilling Tools
- Keep It Simple with Cooking
- Cast Iron is your Friend
- High Heat Cooking Mitts
- Excessive Cooking Gadgets
- Sometimes You Just Want to Grill
Setting Up Your Campsite
- No matter the season, you will need gloves
- Fridge
- Level is best
- Where are the Utilities?
Storage Solutions
- Where will your towels and jackets hang?
- You’re going to need a Garbage Plan
- What to do with Dirty Clothes?
- Key Hooks
- Where is the Remote?
- Storage Solutions
- Bathroom Garbage and Brush
Kids and Campering
- “Close the door!” Your new favorite phrase.
- Bathroom doors
- Kids and blinds, screens, curtains don’t mix
- First Aid Kit
- Fun in the Dark
- Bunk Bed Safety
- Keeping Things Special
- Comforts of Home
Being Outdoors
- What’s your Bug Plan?
- Fire Starter
Packing Up
- Broom and Vacuum Combination
- Don’t Forget Your Antenna
- Final Clean Up
Planning Your Trip
 Choosing the Distance & Destination
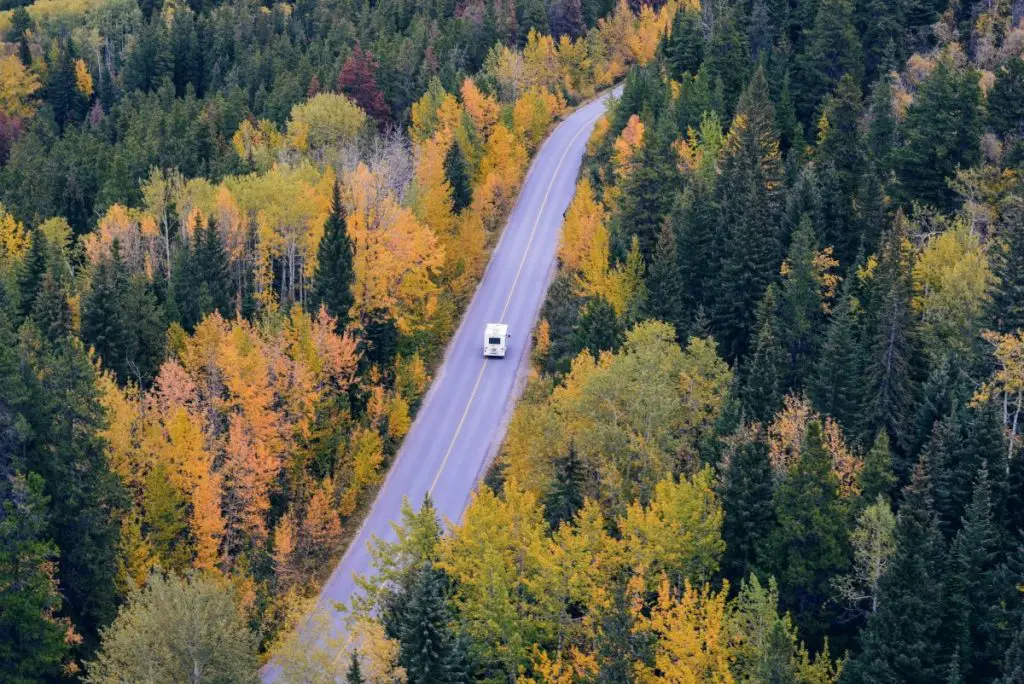
Going on your first RV trip feels like an entirely new world is open to you, but driving or pulling an RV for the first time tames the excitement. Depending on the size of your rig or trailer, you experience differing degrees of swaying, wind effects, and the difference is simply changing lanes when you’re several times longer than your standard vehicle. Driving can be taxing and considering the total distance of the trip and how you will break it up should be a top consideration. If you are renting an RV for a road trip, consider what you would drive in a day by car and back it off at least 20%. If this is your maiden voyage in your own brand new camper, consider camping locally before venturing far from home. This is a great test run if you forget items from home, but most importantly so you can focus on the set up rather than the journey.
Packing: RV Toilet Paper
Standard toilet paper does not break down in RV tanks and is not an option for use in RVs. When we are not hooked up to a sewer connection, we have gone to throwing toilet paper in a trash can as is customary in many countries around the world. This works well and theoretically, you could use any toilet paper for this method. However, if you have a guest or your child forgets and uses 1/4 of a roll, you will likely have a clogged toilet. You can look for RV toilet paper at Wal-Mart, farm stores, RV dealerships and on Amazon (Link). You can also search for marine toilet paper as they are the same quick dissolve concept.
Packing: DVDs
Depending on the age and model of your camper and if there is a DVD player installed, it may be a standard DVD rather than Blu-ray player. For this reason, it’s important to pack DVDs that contain the standard disc. Many movies are sold with both types of discs in the case, but if you are renting from a Red Box or somewhere else, you will want to choose the standard DVD option.
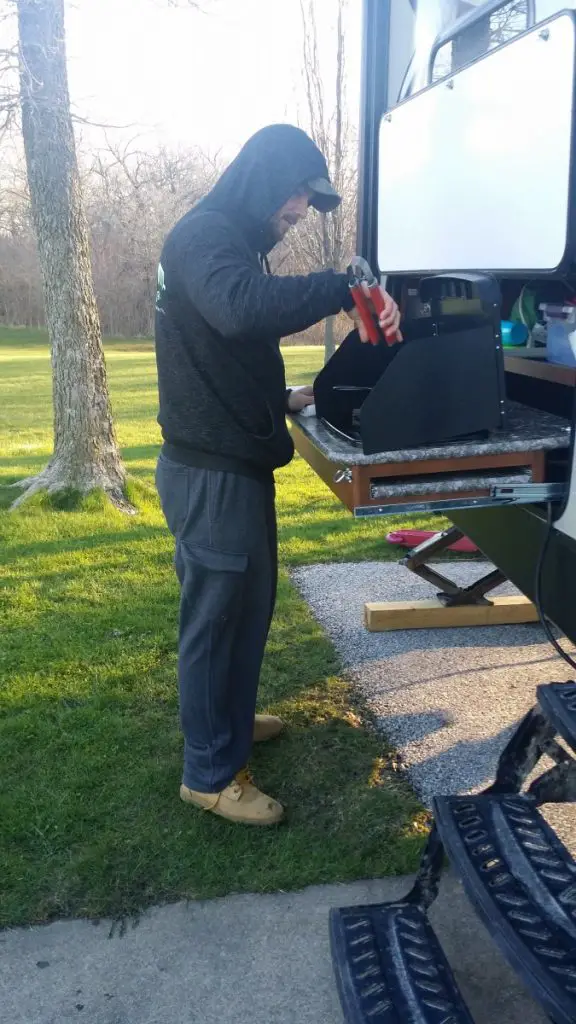
Packing: “Clickers”
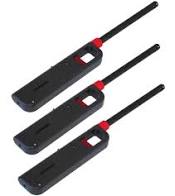 From research, I guess these are actually called BBQ lighters. These are easy enough to find, possibly even at a convenience store on your trip. Since many of us don’t light a pilot at home these days, it’s easy to forget that this will be required to use your oven, stove top or outdoor kitchen. If you are not familiar with lighting a burner or pilot, review the steps in your manual. Practice on your outdoor kitchen for the burner. You do not want to have the gas on for any length of time without being lit in your small camper space as it is a hazard. Side note: make sure you have a fire extinguisher and working smoke detectors.
Nearby Firewood and Propane
In most camping locations it is illegal to bring wood from outside of the county in which you are camping. This is to prevent the spread of diseases and bugs that kill trees. Most campgrounds will sell wood on site and if not, there is usually an enterprising neighbor who has set up a firewood stand. You will want to have extra propane on hand particularly in colder months as running out in the middle of the night can get chilly quickly. Finding a spot nearby to switch out tanks is helpful and avoids taking up a lot of storage of propane.
Food & Menu
 Baggies Versus Containers
Not all, but most campers have limited refrigerated space. Certainly some items need to have a structured container for storage, but having a variety of baggies on hand can make the Tetris effort of storing your unprepared food and leftover much easier. Baggies can also serve as back up gloves in a pinch (see below). The ability to avoid washing baggies increases the ease of clean up.
Grilling Tools
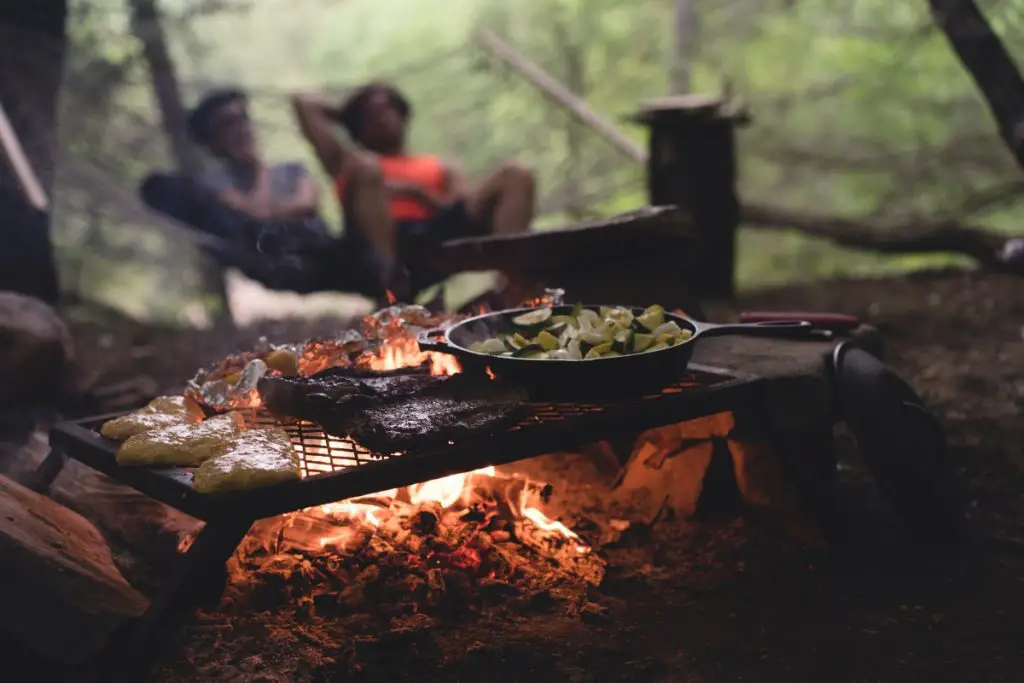
Don’t forget BBQ style grilling tools. Cooking over a campfire means things can be hot and unpredictable. We also use these longer tools with our outdoor kitchen at times. They prove quite useful when your bacon is spitting grease at you. Look for a set that includes long metal skewers as well as wood skewers won’t handle a campfire.
Keep it Simple with Cooking
 I love cooking and I looked at my first couple seasons of camping as an opportunity to experiment with new cooking challenges. This left me hauling tons of ingredients that couldn’t be prepared in advance and frankly, tired. I felt like I was spending all of my time preparing, serving and cleaning up meals and missing out on enjoying and relaxing. These days I keep it simple when meal planning for camping. I try to include options with minimal prep steps. I always have a couple of options in case the weather doesn’t cooperate with cooking outside (usually no cook or microwave options). If there are recipes that require a marinade or several ingredients, I try to do all of this before we leave for our trip.
Cast Iron is Your Friend
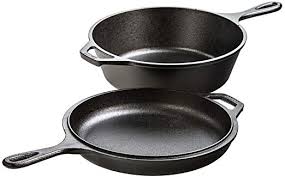 Uncoated cast iron pans are perfect for camp cooking. I really like and use this set by Lodge of skillet with lid and scrapers (Link). We actually will use the lid to cook in at times if we want to cook two things at once. If you haven’t used cast iron before, you may have heard about seasoning. Lodge pans come seasoned and ready to use. You simply scrape out excess after cooking and use water if needed to further clean. You can include oil in the cleaning process to reinforce the “seasoning”, but as long as you are cooking something that gives off fat, you are already keeping up the seasoning. Cast iron is versatile for stove top and campfire cooking since it can handle very high temperatures.
High heat cooking mitts
Because cast iron can get very hot and the heat transfers through the handle, you will want a cooking mitt that can handle the heat. I have used this style of Teflon high heat mitt (Link) which can handle up to 460 degrees. This allows you to confidently remove pans, foil packets and more from the fire. Another option when cooking in your outdoor kitchen is to use silicon handle covers like these (Link).
Excessive cooking gadgets
When you are beginning your camping adventure, you will see an alluring variety of gadgets specific to camp cooking. These items might include various irons for cooking hamburger, hot dogs, pies (made from bread with fillings), roasting pans for fires, special bacon cooking apparatus, and more. I admit that I fell prey to these unique looking gadgets, but I assure you that you truly don’t need these items. You will also soon learn that space is at a premium and items that are not used will not stay in the camper. Your cooking tools should include the BBQ grilling tools mentioned above, the cast iron skillet and high heat mitt mentioned above, a roll of aluminum foil for making packets and maybe covering grates, metal skewers, and a roll of paper towels (for cooked bacon and wiping out your cast iron).
Sometimes You Just Want to Grill
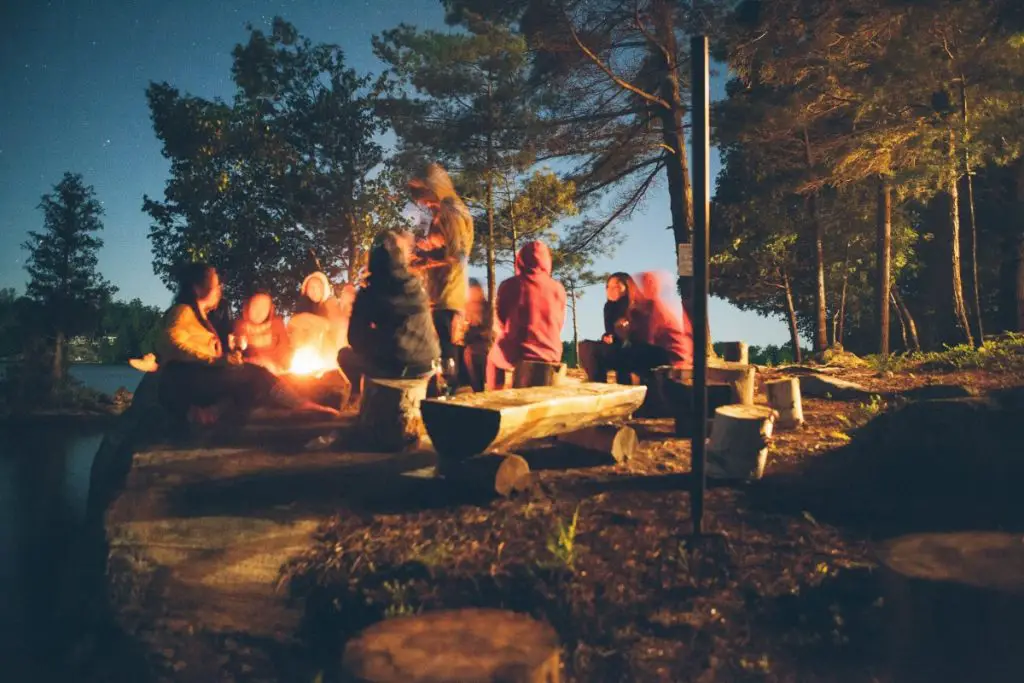
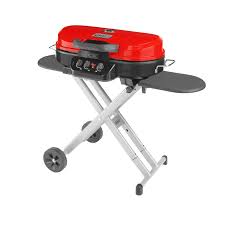 When we were new to camping, we assumed that we would cook everything on the fire and then we started using our outdoor kitchen to cook breakfast. It made for a quick transition without the need to build a fire first thing in the morning. Some campers love to keep a fire going all day long, but we typically only have a fire at night for cooking dinner, making s’mores and sitting around it talking with friends. We started to realize having a grill that wouldn’t take up much space would be really helpful for quick lunches or even dinners when the weather was iffy for keeping a fire going. We chose this grill (Link) and since that time have noticed it is the choice of many campers. It uses the smaller propane tanks that are usually available a stores near campgrounds. We keep a few stored in the outdoor kitchen as well.
This particular grill is great because it folds down for easy storage, has side trays for setting your grilling tools, has heavy duty grates that won’t deteriorate easily, and is fairly light weight.
Setting Up Your Campsite
 No matter the season, you will need gloves
Someone in your party will have to be responsible for emptying your black water (aka toilet tank) at some point. Even if you only ever camp at full hook up sites, you will have to attach the sewer to the hook up. Each RV has at least two tanks for gray (water from sink and shower) and black water. They meet on the same drain line and empty through the same hose by opening and closing valves. You will want to bring along a box of disposable gloves to utilize in this process. Below is a short video on hooking up your water and sewer the first time:
Keeping the Fridge Clean
Even before your camper is completely set up, you can likely turn on your refrigerator by switching it to gas. Most newer RVs have a button the fridge to cycle through power options and you can simply stop when it shows gas. I like to do this get our fridge cold ASAP so food from coolers can be transferred. The other consideration is that before you place the food, you may find that your fridge collected a bit of mold between uses. There are latches like these (Link) that can be placed in between uses to prevent mold from growing. I recommend keeping Clorox wipes or your favorite disinfecting brand of wipes for a quick clean up of the fridge. You will also want to be sure that no ice is left behind in the freezer as cleaning out a puddle above your head is a challenge in itself.
Level is Best
One of the most important features to consider in choosing a spot for your RV is whether the site is level. As you hone your leveling skills or get used to using the leveling technology that may have come with your RV, this may be less of a concern. The following is a great article on leveling your RV as a beginner. You will want to invest in wheel chocks which can be placed around the wheels to prevent rolling once your unhitch your vehicle. You will also need blocks, jack pads or pieces of wood onto which you will lower your jacks. Most RV parks require that jacks not be directly on the ground.
Where are the utilities?
The other important feature to consider when placing your rig on the campsite is the location of the utilities – both on the site and on your RV. Some sites can be parked upon in either direction, but most of the time, you will face the direction that allows for your water and sewer connections to connect most easily and so that your electric isn’t running over the area where you plan to spend your time. You will also need to park close enough that the electrical can easily reach to plug in with slack in the cord.
Storage Solutions
 Where will your towels and jackets hang?
Unless you have a very large RV with full size closets, you will likely find yourself looking storage of items you use daily like jackets and towels. 3M Command hooks are a wonderful solution to this question. Be sure to use the larger owns that can hold more weight. Our bath towels hang from hooks placed high on the wall in the bathroom. You can also place hooks on the back side of door (for example, sliding doors of the master bedroom) for hanging jackets. We also hang our jackets on the trim that borders our slide outs as the corners fall in “out of the way” spots. Some RVs have space to add a rack above the shower which is a good spot for folded and drying towels. In an RV master bedroom which has closets on either side of the bed, stacking fresh towels until the hanging clothes makes the most of this awkward space. We use these over the cabinet towel racks (Link) for our hand towels in both the kitchen and bathroom areas.
You’re going to need a garbage plan.
I always feel we produce so much garbage when we are camping due to single serving items I don’t purchase for home and disposable items to avoid washing a lot of dishes in the tiny sink. We do not have a space for a full size kitchen trash can so we have adapted a solution to use an over the cabinet trash garbage bag holder like this one (Link) which we line with used bags from our groceries. We store these bags in a grocery bag dispenser (Link) which solves the issues of where to put the bags with which we carried our items to the camper and requires very little space for storage. Mine hangs off the key hooks mentioned below.
What to do with dirty clothes?
This is also a space consideration. My preferred method of choice is to use the grocery bags I’ve just mentioned and tie off each bag when full to throw in the vehicle and out of the way. You could also add a 3M hook and hang a mesh laundry bag in a nook. I prefer the first method because there is not a giant pile of laundry at any point taking up our precious little floor space.
Key Hooks
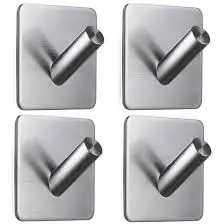 Keeping track of your vehicle and camper keys is muy importante! I also have learned from experience that when your children are small, it’s a good idea to store these somewhere high up. When we camp, we often leave one set of camper keys in the vehicle, hidden away, and the other hanging in the camper just in case someone manages to lock themselves out. I’m not saying this has happened and you would think it was impossible, but I’ve “heard” that it is not. We again relied on 3M hooks for this solution. They have been in place for seven years without slipping. You can find several brands with different finishes to match your hardware.
Where is the remote?
Unfortunately the same question that comes up at home will follow you while you are camping. Between our two TVs and two DVD players, there are four remotes floating around. We learned the hard way that the remotes for built in DVD players are not easily replaced by universal options and must be ordered from the manufacturer. My two favorite solutions are to store the remotes out of reach if your children are very little. If you have bigger kids who will be independently changing movies, find a spot to attach a small strip of velcro and put the coordinating piece on the back of your remote.
Quick Storage Solutions
If you start watching YouTube videos or saving Pinterest ideas, you will soon learn that campers love IKEA for their smart, small storage options. The IKEA Trones is one of the more versatile pieces. Its most common use is as shoe storage. They are stack-able and can be attached to a wall space. They are also great for personal storage spaces in a bunk. They are easy to close and hide mess and provide a realistic limit on the amount of toys and belongings each child can store. Magazine files and storage cubbies are also favorites for small storage spaces. Magazine files are a great place to store tablets near a charging station or books for reading or coloring. Cubbies can fill in odd shaped areas under the sink to keep items off the floor and provide organization.
Bathroom Garbage and Brush
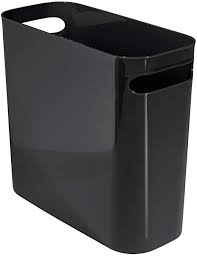 We choose to use a narrow trash can that holds a grocery sack as our bathroom garbage can. This is the actual can we use (link). Our toilet is in a corner and this small can fits on the floor along the wall below the toilet. In the tiny nook behind the toilet, we have a plunger and another 3M hook with a toilet brush hanging down low to the ground. In such a small space, it seems appropriate to keep all of this close to the toilet.
Kids and Campering
 “Close the Door!” Your New Favorite Phrase
Kids are just too excited to remember to close the door. Even in our 7th camping season, we typically have remind kids to close the door every other time they exit or enter. I recommend going over this, the difference between the exterior door and screen door, the sliding panel to reach the handle on some campers and that the hand rail is not a chair for those campers where the railing is large and swings shut. It’s wishful thinking, but mostly it’s best to get prepared to say this over and over and over and over…
Bathroom Doors
If you have a camper with a second door leading into the bathroom, you may want to consider keeping this door locked and the stairs up except in occasions when you need direct access to the sink from the outside. If your RV, like ours, doesn’t have a lock on the interior bathroom door, it’s nice to only manage this one door. It’s also nice as parents not to wonder if the child before you has unlocked the door and will it be swinging open or accessible from the outside at night.
Kids and Blinds, Screens, Curtains Don’t Mix
In many bunkhouses, the bunks have their own windows with static decorative curtains, blinds, and half screens. For us, this has been a recipe for disaster as the kids roll into their windows with their sleeping bags, bending the blinds, knocking the bottom curtain hooks off and playing with the screens, hitting out of their place in the window. I recommend taking out the blinds and usefulness curtains in place of small blackout curtains that kids can easily slide. You can seal the screens in place as well to avoid the knocking them out of place.
First Aid Kit
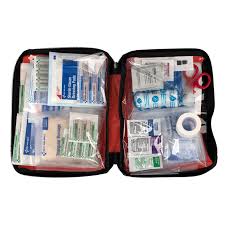 We keep a simple first aid kit in the camper. The majority of the time, it is used for cuts and scrapes.
Your first aid kit should include:
- Band aids and topical ointment
- Something to remove irritation and sting of a bug bite like Benadryl Children’s Anti-Itch
- Back up sunscreen
- Aloe Vera gel or other cooling agent
- Sample packets or small bottles of medicines you commonly use
- A comb and pointed set of tweezers. This is your tick kit. The comb is helpful if you have a child with thick or long hair in order to check for ticks after hikes or playing out under the trees. We typically wear hats for any hikes since it’s easier to prevent the problem. Our kids know what ticks look like and so that they can show us if they find one on their body so it can be removed properly. If you’re unfamiliar, there is a correct way to remove a tick, read about that here.
Fun in the Dark
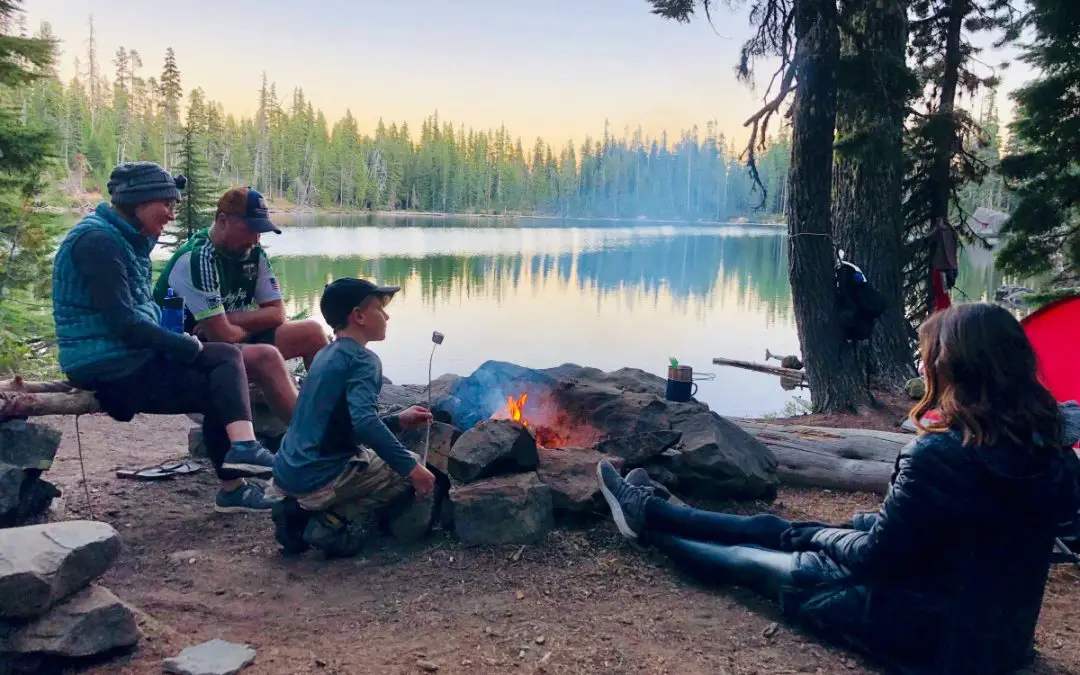
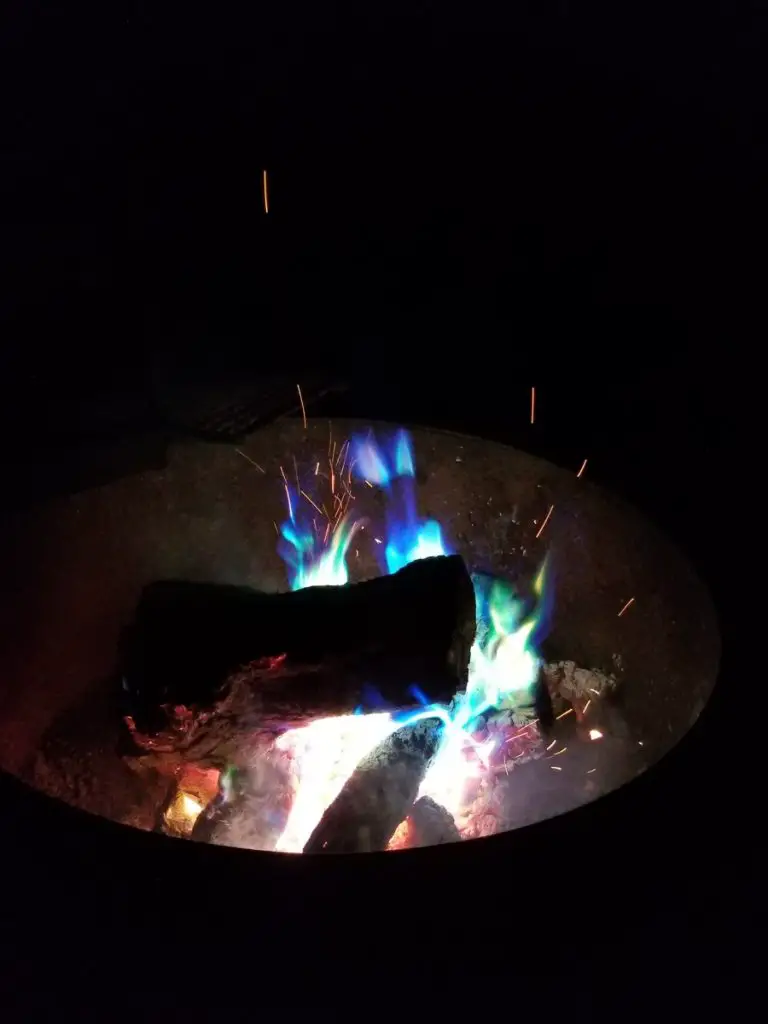 Most families tend to stay up later while camping since there is a lot of fun to have when the sun goes down. My top suggestions are glow sticks, bracelets, etc, a bug catcher of some type, and color changing fire packets. We use a bug catcher like this one (Link) with sturdy mesh so hopefully bugs are observed and then released. Color changing fire packets like these (link) are fun to toss into an already built fire to observe. It definitely keeps the kids interested in sitting by the fire when we aren’t roasting marshmallows.
Bunk Bed Safety
When we purchased our camper, we had a baby, a three year old and a five year old. I knew the bunk room would be awesome in the future, but I was afraid to put the little ones up “in the air” where they could fall. We chose to purchase the kids bedside rails that slip under mattresses like these (Link). They have worked great and our older two are certainly mature enough to go without, but one likes having the security and privacy while the other likes having her bed open to the room. I have seen other use tensions rods across the bunk opening as well as pool noodles cut to fit over the lip of the bunk as a reminder if the child rolls into it.
Keep Things Special
In order to simplify your packing and make things more interesting, I recommend purchasing certain items that will stay at the camper. For us, this includes:
- Crayons, markers and colored pencils
- Piles of paper for drawing
- Alphabet magnets (usually only the oven front is magnetic)
- Books about outdoor activities (tying knots, identifying bugs, bird watching, etc)
- Games such as Crazy 8s, Yahtzee, etc.
- Bedtime story books
- Outdoor toys including a play parachute, various balls, bubble machine, and lawn games
As adults, we keep a few clothing items like sweatshirts and thick socks in the camper since we don’t grow in size like the children do.
Comforts of Home
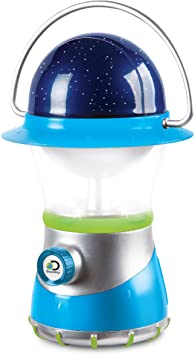 Getting kids comfortable in their new beds away from home will be eased if you have the comforts of home in the camper. When you have little ones, using a video monitor will allow you to feel comfortable sitting out by the fire at night. Our kids love their sound machine and night light at home so we use both at the camper. Our night light at the camper has been a kids lantern (Link) and now is a battery operated string of lights.
Being Outdoors
 What’s your bug plan?
Even if you don’t mind bugs or want to protect them, there will be some part of your camping season where keeping a particular bug away will improve your experience. Assuming most people don’t enjoy insects flying around them, I recommend you consider what bugs are common in your area. You may want to include citronella to keep away mosquitos, bug sprays, or a small fan to move away gnats. We keep a fly swatter inside our camper for the inevitable bugs who make their way open during the “close the door” events mentioned earlier. This also hangs from our key hooks for easy access.
Accompanying your bug plan, consider purchasing your cups with lids so you will feel comfortable leaving your water bottle or drink glass sitting outside.
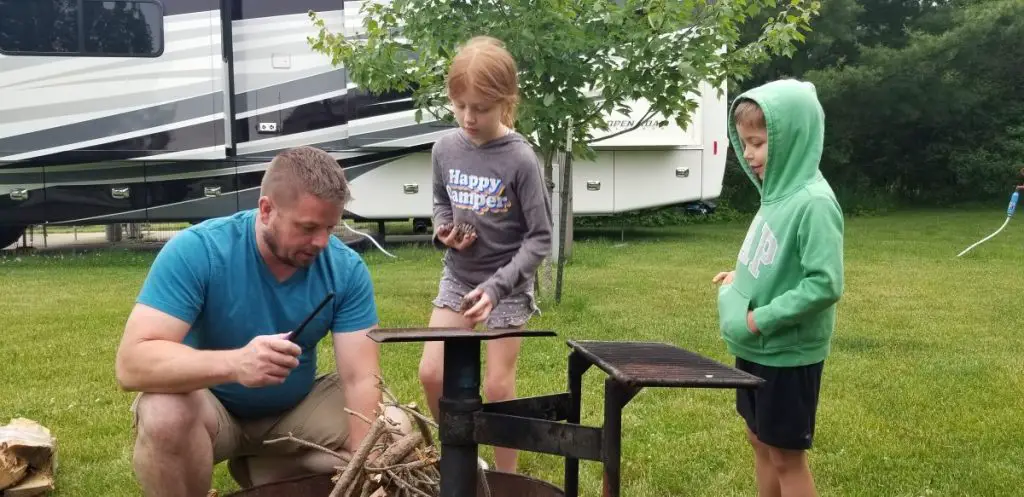
Fire Starters
Even if you are a fully trained outdoor wilderness expert, you might be interested in a little fire starting assistance. I mentioned “clickers” or BBQ lighters as a very helpful tool that can also be used to light your fire. We keep water proof matches around just in case. There are also several brands of fire starter logs and other products like JT FireStarters which is a hand made product made by Daniel, a young adult with autism.
Packing Up
Broom and Vacuum Combination
For keeping the camper clean during use and cleaning up before we pull it in to storage, we use a broom and a small vacuum. It’s easy to make a long pass through the camper with a broom and sweep right outside the door. However, brooms are not very effective on carpet. Our camper has carpet under the dining area which is prone to lots of dropped items. The vacuum is helpful for these situations and also for cleaning out behind mattresses, window sills, etc.
Don’t Forget your Antenna
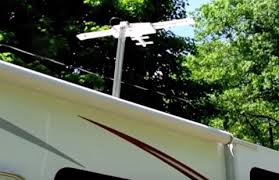 If you have an antenna that winds to gain a better signal, don’t forget to bring it back down when packing up. Not only is it a hazard for going under shorter bridges and overpasses, antenna can swing away from the body of the camper and might actually be in another lane on the highway. You wouldn’t want to see your antenna go flying as a passing semi rips it off.
Final Clean Up
You will inevitably want to do a clean up each time you open up your camper, but you can make that process simpler by doing an overall cleaning before you close it up. I typically “close a room” at a time. I like to use wipes for easy cleaning after I have removed bedding, dirty laundry and personal belonging. With floors last, I will actually pull in our bunkhouse slider to prevent further mess while I finish cleaning up. The last thing I remove is always the food from the fridge which I like to wipe down to make sure there isn’t invisible stickiness for attracting flies. Don’t forget to scan your campsite too for any garbage or belongings hiding in the grass. Make sure to leave your fire ring clean for the next users.
Happy Camping
 What an exciting adventure you are about to begin! I’m hoping your first time in your camper is magical and leaves you wanting more. Please share your experiences and tips for getting familiar with camping!